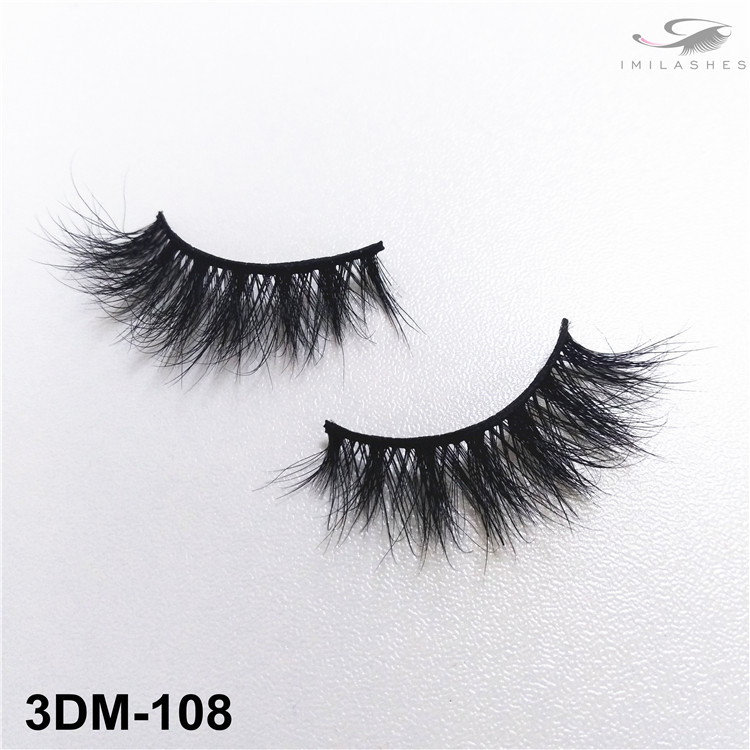
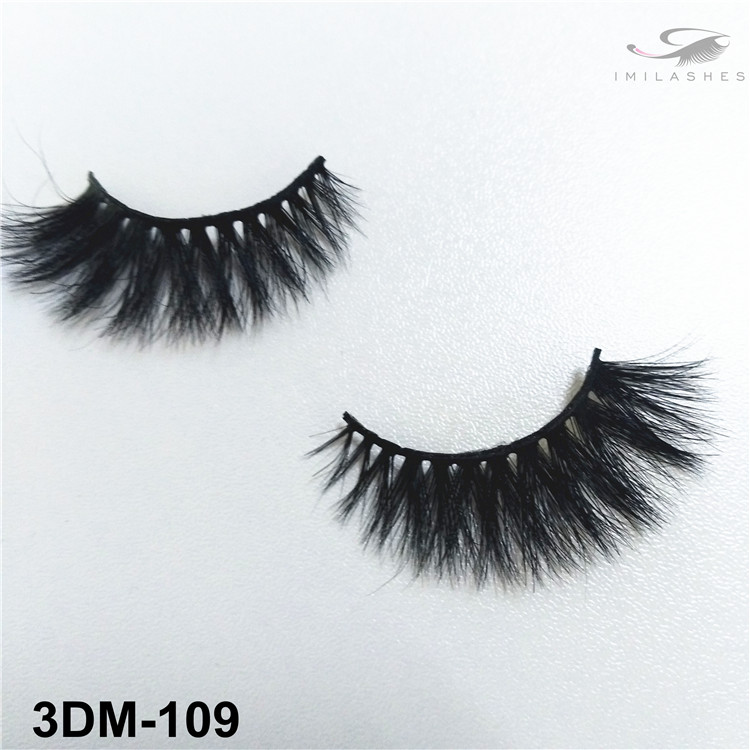
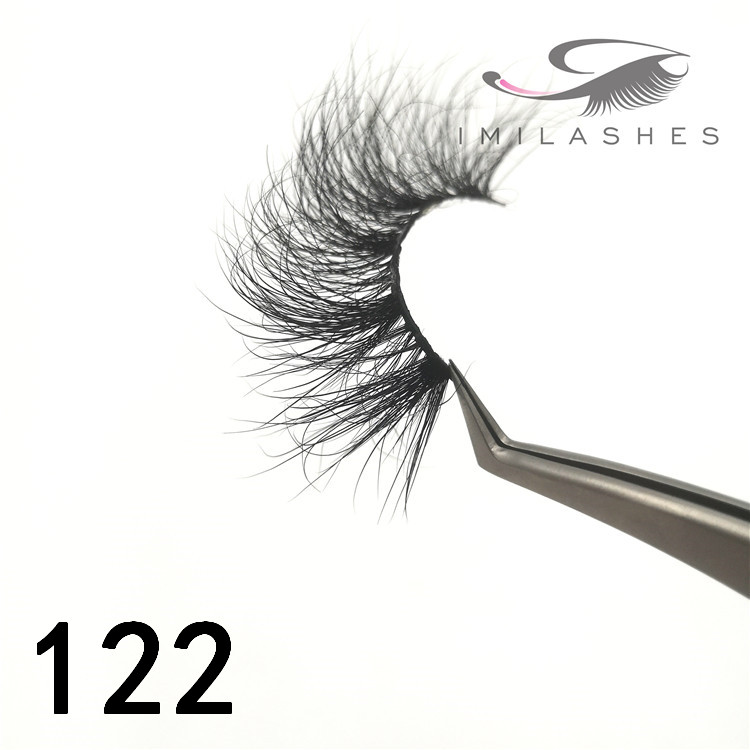
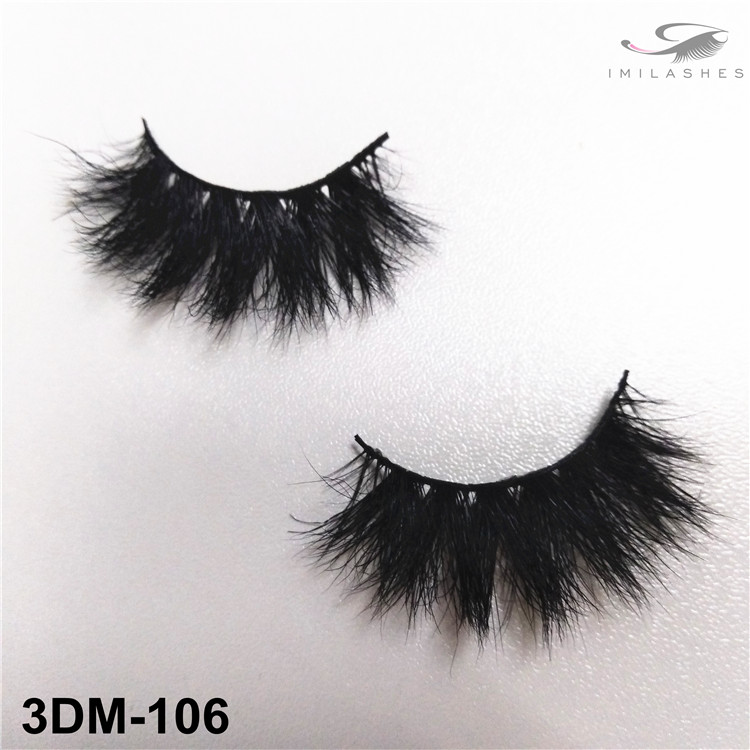
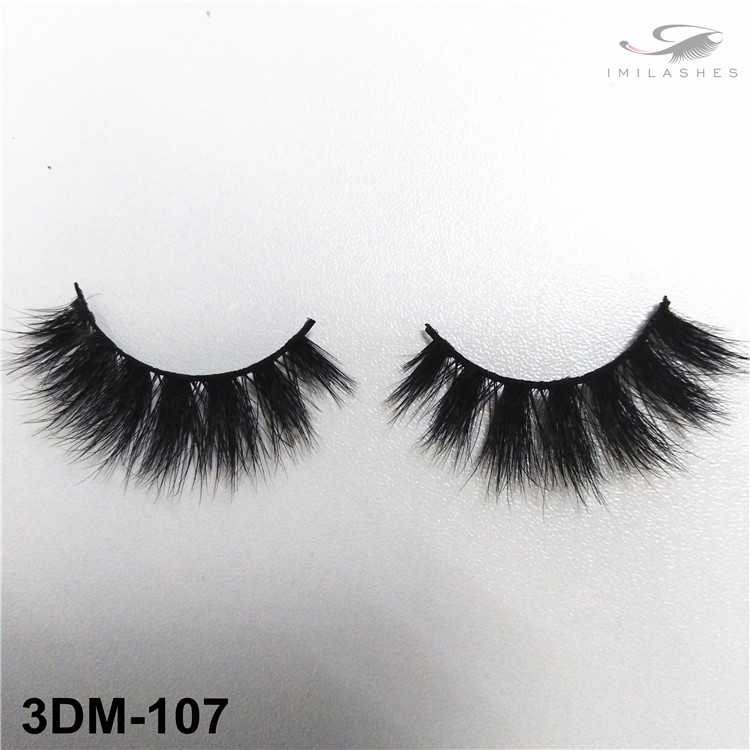
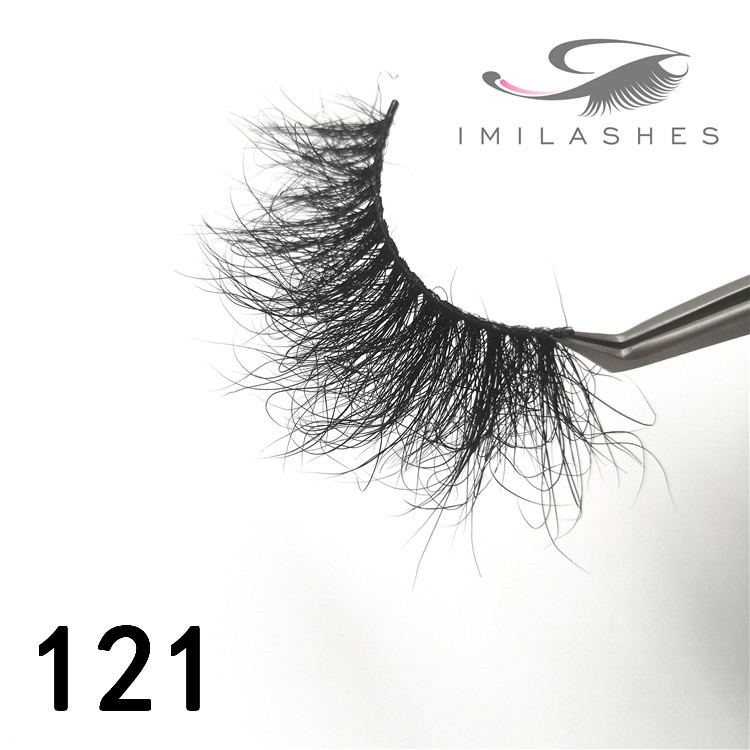
Today i to share with you how to paste mink eyelashes, here is the most natural and most common way to paste, regardless of eye shape correction and special makeup effects, I will explain to you below.
The first step: the curvature of the real eyelash curler is best curled up, the effect is that people can not see the difference between the real mink eyelashes to make the two better connected.
The second step: measure the length of the eye. We can use the tweezers to pick up the mink eyelashes, then place them at the top of the eye against their true eyelashes, and be sure to align the middle of the two eyelashes. Then look at the position of the end of the eye. After aligning the eyelashes, the length of the mink eyelashes must be within the end of the eye. Next, let's talk about the eyes, mink eyelashes and the inner corner of the eye must not be too close, to leave a little more gap. If it is too close to the inner corner of the eye, it looks unnatural from the surface, and the eyes will be uncomfortable when we close our eyes and rub our eyes. Mink eyelashes If your own eyes are long, we can cut a section from the end of the eye or the eye, cut it to the length and then stick it to the eye.
The third step: apply eyelash glue. Be sure to choose a mascara glue with a small brush that will be very convenient to apply. Apply from the middle of the mink eyelashes to the surrounding areas, so that the glue on the eye and the end of the eye will be more secure. Do not rush to the eyes after applying the glue. Always blow for 10 to 15 seconds, because it is the most sticky when the glue is half dry. It is more solid to stick it to the eyes.
Step 4: Start posting mink eyelashes. The position of the mink eyelashes is to be chosen on the eyelids, so be sure to be as close as possible to the real eyelashes. Look down first or keep your eyes slightly closed, then gently lift your eyelids with your fingers. This time you can stick the mink eyelashes very close to the real eyelashes. Hold the middle of the eye eyelashes with tweezers and stick them to the middle of the eyes. After fixing them, loosen the tweezers. Move the tweezers slowly to the end of the eye, and hold the mink eyelashes when you stick the end of the eye so that you can prevent the lines from being bent in the middle of the eyelashes. To straighten the mink eyelashes but not too hard, the mink eyelashes will be opened. Be sure to gently squat back, aiming at the end of the eye and then fixing the mink eyelashes. The same is true, the eye is gently rubbed back with a little force, and it is attached to the corner of the eye.
The fifth step: reinforcement. At this point, the entire eyelashes are basically stuck to the eyes, but there may be some deviations in some places. At this time, we use the eyelash curler to hold the mink eyelashes and push it on the eyelids. Press it from the eye to the end of the eye. This way your eyelashes will stick very tightly. At the same time of reinforcement, please pay attention to adjust the angle and curvature of mink eyelashes. A truly natural mink eyelashes should be a special exaggeration that does not tilt upwards or block the line of sight downwards. The correct arc should be slightly raised. If there is no problem with the sticker, then the mink eyelashes are almost invisible to the eyes. It is not uncomfortable when it is blinking and it will not block the line of sight at all.
Today, I’m here to share the mink eyelashes. I hope everyone can practice more and I wish every little fairy can post very beautiful mink eyelashes!
